Getting Started with Atlas
Your first project
Introduction
On behalf of the Neutral Software team, welcome to Atlas! This guide will help you get started with your first project.
Atlas is a powerful, modern and fast game engine designed for developers that want AAA-like experience without the hassle of complex tools or old software. Atlas is just supported in macOS, with Windows and Linux support being highly unstable.
Atlas is modular and divided into several frameworks:
Atlas Engine
The engine itself, responsible for rendering logic, controls, and state management.
Aurora
A realistic terrain creation and reconstruction framework.
Bezel Native
A physics simulation framework for realistic object interactions.
Bezel Jolt
A fast and efficient physics engine for real-time simulations based on the Jolt project.
Atlas CLI
A simple and easy to use command-line interface for managing your Atlas projects.
Atlas Editor
A visual editor for creating and editing your Atlas projects.
Finewave
A framework for handling audio and music in your games.
Graphite
A UI framework so that you can create beautiful user interfaces.
Hydra
An atmosphere framework that provides realistic sky, weather, and water effects.
Opal
A core rendering framework that is the backbone of the Atlas Engine, abstracting Vulkan, Metal and OpenGL.
Photon
A path tracing and global illumination system for creating realistic lighting in your scenes.
Tracer
An application and framework for debugging your projects.
Read the rest of the documentation to learn more about each framework and how to use them in your projects.
Installation Process
Using the Website
To install Atlas, you can download the latest version from the official website. The website provides a simple and user-friendly interface for downloading the engine and its components. Please refer to the official website for more information. This process will provide you with the latest stable version of Atlas, along with any necessary dependencies and installation instructions.
Installing the Toolchain
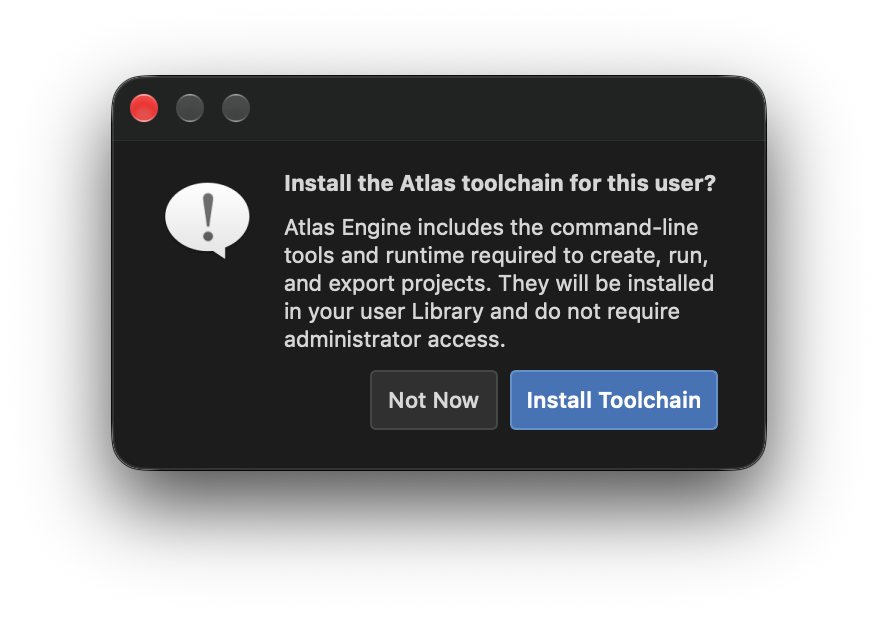
After opening Atlas for the first time, you will be prompted to install the toolchain. The toolchain is a set of tools and libraries that are required for building and running Atlas projects. It includes the CLI, core libraries and more.
Skipping the Toolchain
If you skip the toolchain installation, you can always install it later by opening a project and clicking Tools > Install Atlas Toolchain... in the menu bar. This will download and install the necessary components for your project.
Downloading from GitHub
To download Atlas from GitHub, you can access Atlas's official release page on GitHub. The release page provides access to the latest stable version of Atlas, along with any previous releases and their corresponding source code. Here, you will be able to find pre-released versions of Atlas, as well as any beta or alpha releases that may be available. You can download the source code for these releases and build Atlas from source if you prefer.
Getting Started with Your First Project
Creating a New Project
To create a new project in Atlas, you can use the Atlas CLI or the Atlas Editor. The CLI provides a command-line interface for creating and managing projects, while the Editor provides a visual interface for creating and editing projects.
Using the Atlas CLI
To create a new project using the Atlas CLI, open your terminal and run the following command:
atlas create <project-name>Having multiple versions
Using the Atlas Editor
Open the Atlas Editor and simply click on New Project to create a new project. You will be prompted to enter a project name and select a location for the project files.
It is important to know that you will be asked to decide on a pipeline to use. A pipeline simply refers to the rendering engine that will be used in your project. To dive deeper, please refer to the Rendering Pipeline documentation.
For now, you can select the PBR pipeline, which is the default and most commonly used pipeline in Atlas. This pipeline provides a physically-based rendering approach that simulates real-world lighting and materials.
Building & Running Your Project
Using the Atlas CLI
To run your project using the Atlas CLI, navigate to your project directory in the terminal and run the following command:
atlas runUsing the 'build' command
To finally pack your game into a final application, you can use the following command:
atlas packThis will produce a final application in the dist folder of your project directory, which you can distribute to others.
Using the Atlas Editor
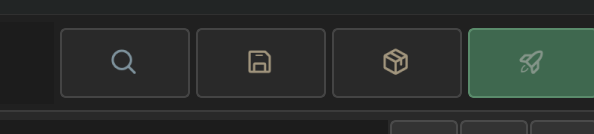
To run your project using the Atlas Editor, simply click on the Run button in the editor top bar. This will build and run your project in a separate window, allowing you to test and debug your game.